Ultimate Guide on how to Fit a New UK Number Plate
Share
Introduction
Replacement Number Plates are becoming increasingly popular for vehicle owners looking to upgrade the look of their car with the Gel and 4D styles we offer. However, many customers make mistakes when fitting these Number Plates and cause damage to acrylic or gel letters.
In this guide, we will walk you through the step by step process of installing Gel, 4D and Standard Printed Number Plates Securely to ensure longevity and compliance with legal standards, as well as the common mistakes to avoid.
Tools Required for Installing Number Plates
Before you begin the installation, gather the necessary tools and materials:
- Screwdriver (Flathead or Phillips) - To remove the old Number Plates and Secure the new ones.
- Drill (Optional) - For drilling holes if required
- Spirit Level - Ensures proper alignment
- Cleaning Cloth - For surface cleaning before attaching new Number Plate
We highly recommend the use of our Fitting Kits as these will contain all screws and screw caps, as well as 6 adhesive sticky pads that will help you fit your new plates.
Step-by-Step Installation Guide
Step 1: Remove the Old Number Plates
- Unscrew the existing number plate if it secured with screws.
- If adhesive pads were used, gently pull the plates way from the car.
Step 2: Clean the Mounting Area
- Use a damp cloth with warm soapy water to remove any dirt, dust or adhesive residue.
- Ensure the surface is completely dry before attaching the new plate.
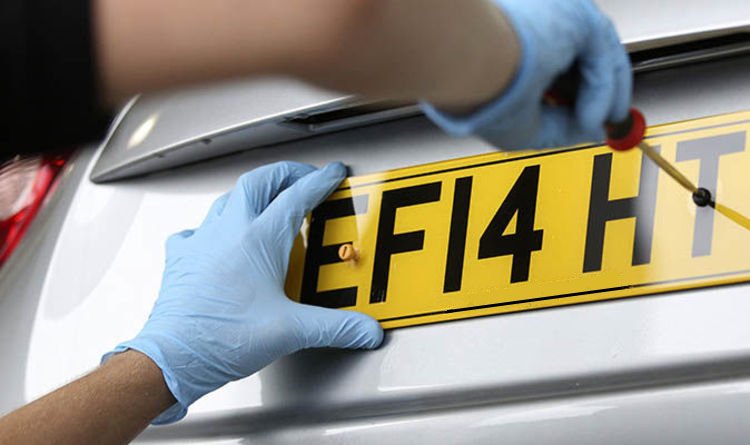
Step 3: Attaching with Screws (Drill Method)
- Hold the new number plate in position and check the alignment using a spirit level.
- Mark the spots where screws will be applied.
- Carefully, drill through the pre-marked spots on the number plate (DO NOT DRILL THROUGH ANY GEL OR 4D LETTERS).
- Insert the screws and tighten them until the plate is secure. Be careful not to over tighten them as it may crack the acrylic.
Step 4: Using Adhesive Sticky Pads (No-Drill Method)
- If you prefer a cleaner installation (recommended for Gel and 4D Number Plates) apply strong double-sided adhesive pads to the back of the Number Plate.
- TIP - Use a hair-dryer or something similar to heat the sticky pads, making them extra strong when fixing your plate.
- Firmly press the plate onto the cleaned surface, holding it in place for a few seconds to ensure proper adhesion.
- Allow the adhesive to set for a few hours before driving.
Common Mistakes to Avoid
- Misalignment - always use a spirit level to position the plate correctly before securing it.
-
Weak Adhesion - ensure the surface is clean and dry to avoid adhesive pads from peeling off.
- Over-Tightening Screws - applying too much force may damage the acrylic.
Conclusion
Installing Number Plates is straightforward process, whether you choose to screw them or use adhesive pads. By following these steps you can enjoy a modern look for you vehicle.